Pumpkin Carving Made Easy
- Yelaine Suarez
- Home Life
Pumpkin carving is an essential part of the Halloween festivities and it is a tradition that has been observed for centuries. The tradition of pumpkin carving started as an Irish myth of "Stingy Jack" a man that tricked the devil. The tradition of carving pumpkins came to the United States via Irish immigrants whom carved turnips, potatoes, and gourds with frightening faces and images in order to ward of Stingy Jack and other spirits. Here is a step-by step on how to carve your very own jack-o-lantern.
Step 1: Choose the Right Pumpkin
Tip: Taller pumpkins resemble more of a face than wide pumpkins.
Visit your local supermarket or pumpkin patch and choose a ripe and completely orange pumpkin, it will make it much easier to gut. If the pumpkin is too ripe however, it could cause problems. So make sure that you look over your gourd for soft spots, mold, cracks, and bruises!
Step 2: Gutting
Tip: Use an ice cream scoop, for an easier way to scoop the goop.
Gutting the pumpkin is the essential part of pumpkin carving, it's your foundation. Start by cutting a 45 degree angle along the top, bottom, or back of the pumpkin (depending on what area of the pumpkin you're going to be carving). By cutting at a 45 degree angle you are ensuring that the lid won't fall into the pumpkin once you're done. After completing the cut, it is time to get rid of all the seeds and gunk inside. Bonus tip: scrape all of the guts first and then dump into trashcan, for a much neater approach.
Step 3: Design
Tip: Dry erase markers to draw on the design make starting over easy if mistakes are made.
Here is where your creativity and imagination can run wild- So don't hold back! If you are a beginner like me, printing out a few stencils is an easy way to get into the swing of things. Better Homes and Gardens has a great array of free printable stencils! If you've dealt with a few pumpkins in your life time or consider yourself a pro, try on some free hand designs or try your hand at some extreme pumpkin carving!
Step 4: Carve
Tip: Use rubbing alcohol to wipe off the spare permanent marker after you've finished carving.
You can purchase a pumpkin carving kit at any local supermarket or pumpkin patch – and truth be told finding the right tool for the job is half the work! If you are using a template; with the sharp dotting pumpkin carving tool, use a gentle back and forth motion to cut along the template, then with a miniature saw or carving tool, carve along the pattern you made. The same process is applied if you made your own free hand design onto the pumpkin. Keep following your pattern until your masterpiece is complete!
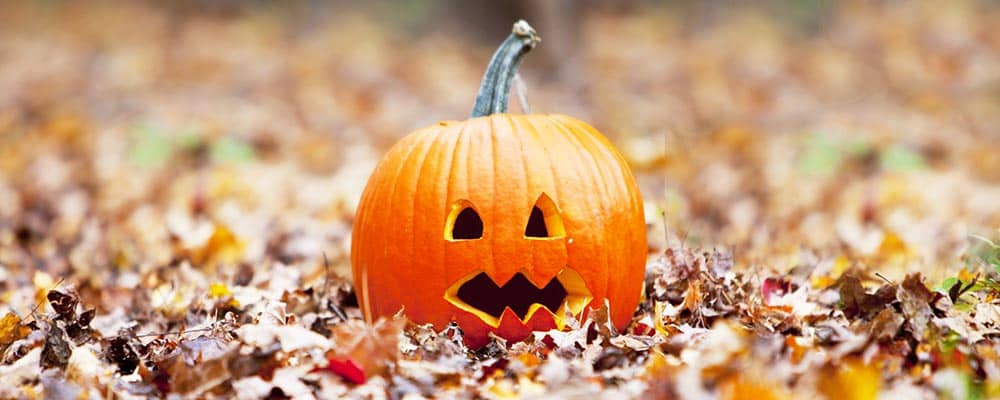
Step 5: Light, Place, Enjoy!
Tip: If using a candle, make sure you have large holes in your design to provide the flame with enough oxygen to keep burning.
You can choose to light your jack-o-lantern with the traditional candle method- but be careful or you might find yourself needing some unwarranted home improvements, or opt to go with the much safer and popular LEDs. One great idea is using stringed lights around a jar, a strand of 20 lights will do, then tape the wires to the jar to secure them in place-place jar inside of the pumpkin.
Whatever design or method you decide to use, what's important is having fun!